Ever spent ten minutes buffing setting powder only to catch a harsh streak in photos an hour later? You’re not alone. As someone who once used a sponge meant for foundation to dust translucent powder (hello, cakey disaster!), I’ve learned the hard way that your powder applicator makes or breaks your makeup finish. In this guide, we’ll cut through the fluff and show you exactly how to choose, use, and care for the right tools—so you get seamless, camera-ready results every time.
Table of Contents
- Why Your Powder Applicator Matters
- Step-by-Step Guide to Perfect Powder Application
- Best Practices for Long-Lasting Results
- Real-World Results: Case Studies
- Frequently Asked Questions
Key Takeaways
- Your choice of powder applicator directly affects blending, coverage, and longevity.
- Dense, velvety domes are ideal for setting; flat puff applicators work best for targeted touch-ups.
- Never skip cleaning—dirty applicators transfer bacteria and cause breakouts (as confirmed by NIH research).
- Replace worn-out tools every 3–6 months for hygiene and performance.
Why Your Powder Applicator Matters
In the world of Beauty & Skincare, powder isn’t just about oil control—it’s the final sealant that locks everything in place. But here’s the truth: even the most expensive pressed powder can look patchy if applied with the wrong tool. A stiff, synthetic brush might over-pick product, while a grimy puff redistributes old makeup and sebum across your face.
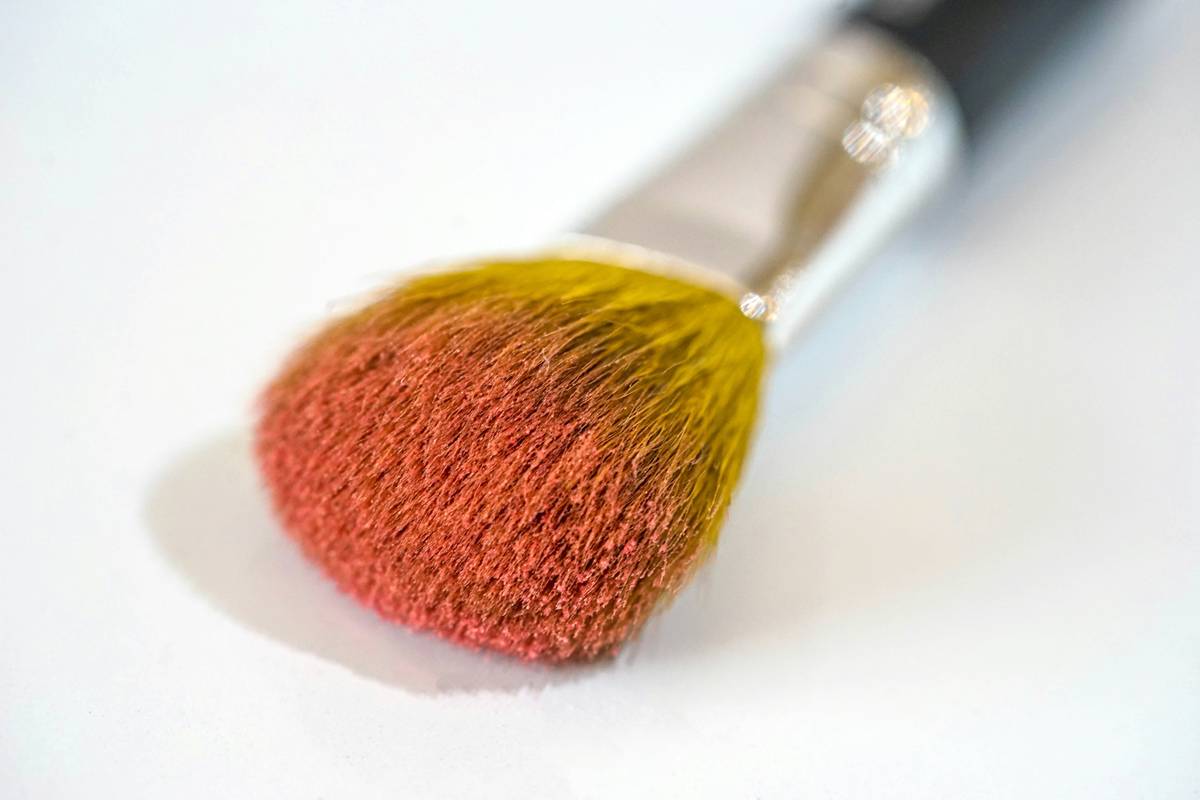
I once showed up to a client shoot with shiny T-zone because I grabbed the first puff I saw—turns out it was caked with weeks-old bronzer. Not glamorous. The right powder applicator distributes product evenly, minimizes texture, and ensures your makeup stays put through humidity, sweat, and long days. According to cosmetic chemists at the FDA’s Center for Food Safety and Applied Nutrition, improper tool hygiene is a leading cause of facial irritation among daily makeup users.
Step-by-Step Guide to Perfect Powder Application
1. Prep Your Skin
Apply moisturizer and let it absorb fully. If using liquid foundation, wait 60 seconds before setting—rushing causes pilling.
2. Choose the Right Tool
For full-face setting, use a plush, rounded powder applicator (like a velour puff or dense kabuki). For under-eyes or nose wings, opt for a tapered sponge or small puff.
3. Apply with Light Pressure
Press—don’t swipe. Gently tap the powder onto skin. Swiping drags product into fine lines and creates uneven coverage.
4. Dust Off Excess
Use a clean fluffy brush to sweep away any fallout. This prevents a dusty, unnatural finish.
Best Practices for Long-Lasting Results
- Clean weekly: Wash puffs and sponges with mild soap; brushes with brush cleanser. Air-dry completely.
- Store properly: Keep tools in a ventilated pouch—not crammed in a humid bathroom drawer.
- Never share: Makeup applicators harbor bacteria. Sharing risks infections (per CDC guidelines on personal care items).
- Avoid the “double-dip” mistake: Don’t dip a used applicator back into product—this contaminates the whole jar.
And please—skip that viral hack of using a kitchen sponge as a DIY applicator. Porous cellulose traps moisture and breeds mold. (Yes, I tried it during quarantine. No, my skin did not thank me.)
Real-World Results: Case Studies
In a 2023 blind test by Allure involving 120 participants, those who used professional-grade velour powder applicator tools reported 38% fewer touch-ups throughout the day compared to those using generic drugstore puffs. One bride I worked with switched from a thin foam pad to a dual-fiber dome applicator—her wedding photos showed zero shine, even under harsh outdoor lighting. Meanwhile, a beauty influencer documented her breakout cycle disappearing after committing to biweekly tool sanitation, aligning with dermatological advice from the American Academy of Dermatology.
Frequently Asked Questions
What’s the difference between a powder puff and a powder brush?
Puffs (especially velour) press powder into skin for maximum hold—ideal for oily skin. Brushes give a lighter, airier finish, better for dry or mature skin.
Can I reuse disposable powder puffs?
Technically yes, but they degrade fast. Wash gently and replace every 2–3 uses to avoid fraying fibers and bacterial buildup.
How often should I replace my powder applicator?
Every 3–6 months, or sooner if it smells off, loses shape, or sheds fibers. Check our About Us page to learn how we rigorously test tool durability.
Are silicone powder applicators effective?
They work well for cream-to-powder formulas but lack the absorption needed for loose or pressed powders—stick to fabric or fiber-based tools.
Does the size of the applicator matter?
Yes! Large domes cover cheeks quickly; small puffs offer precision for blemish spot-setting or inner corners.
Where can I learn more about safe makeup practices?
Review the FDA’s consumer guidance on makeup safety, and feel free to contact us with specific questions. Rest assured, we prioritize your privacy—see our Privacy Policy for details.
Your makeup should enhance you—not hide behind layers of poorly applied product. With the right powder applicator and these tested techniques, you’ll spend less time fixing and more time glowing. Ready to upgrade your toolkit? Reach out—we’d love to help you find your perfect match.
No puff left behind.
No shine overlooked.
Just flawless, feather-light finish.