If you’ve ever blended a smoky eye only to find muddy pigment on your brow bone—or worse, irritated eyelids from a stiff sponge—you know that the right eyeshadow applicator can make or break your look. Despite being small and seemingly simple, these tools play a massive role in color payoff, blending precision, and skin health. In this guide, we’ll cut through the marketing fluff and give you actionable, dermatologist-aligned advice on choosing and using makeup applicators that actually work.
Table of Contents
- Why Your Eyeshadow Applicator Matters
- Step-by-Step Guide to Using an Eyeshadow Applicator
- Best Practices for Clean, Effective Application
- Real Results from Smart Tool Choices
- Frequently Asked Questions
Key Takeaways
- Not all eyeshadow applicators are created equal—material, shape, and hygiene drastically affect performance.
- Dermatologists warn that dirty or abrasive applicators can cause contact dermatitis or micro-tears around the eyes.
- Proper cleaning extends tool life and prevents bacterial buildup (yes, even sponges).
- Using the wrong applicator type leads to poor pigment control and wasted product.
Why Your Eyeshadow Applicator Matters
The delicate skin around your eyes is up to ten times thinner than facial skin elsewhere, making it highly susceptible to irritation and damage. According to the American Academy of Dermatology, repeated friction from low-quality applicators can compromise the skin barrier, leading to redness, flaking, or even long-term sensitivity (AAD, 2023).
I learned this the hard way during a photoshoot years ago. I grabbed a cheap foam-tipped eyeshadow applicator out of desperation—big mistake. Not only did it shed tiny fibers onto my model’s lids, but the rough edge caused visible abrasions after just two swipes. We had to scrap the entire look and start over with clean brushes. That day taught me: never underestimate the tool behind the technique.
Step-by-Step Guide to Using an Eyeshadow Applicator
1. Prep Your Lids
Start with clean, moisturized eyelids. Skip heavy creams—they cause creasing. Instead, use a lightweight eye primer or translucent setting powder to create a smooth base.
2. Choose the Right End
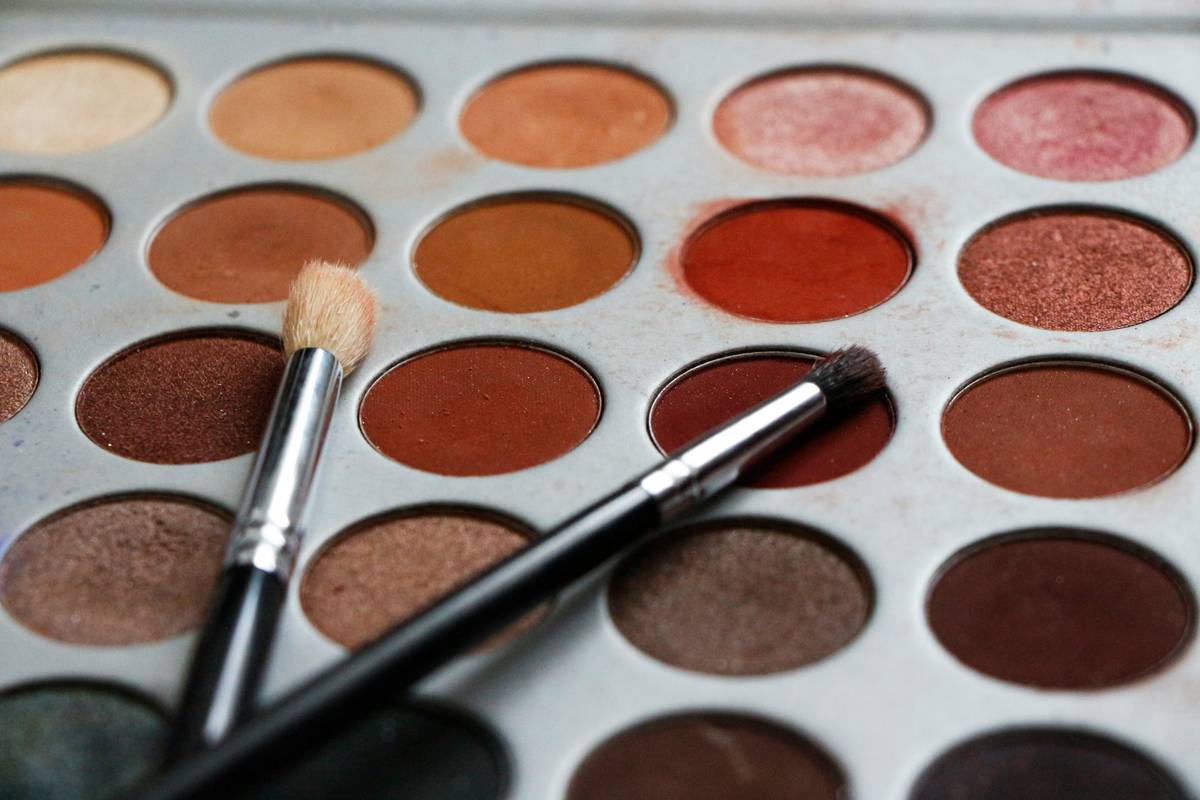
Dual-ended applicators often feature a sponge tip for packing pigment and a tapered brush for blending. Use the sponge for intense color deposit on the lid, then switch to the brush to soften edges into the crease.
3. Tap, Don’t Drag
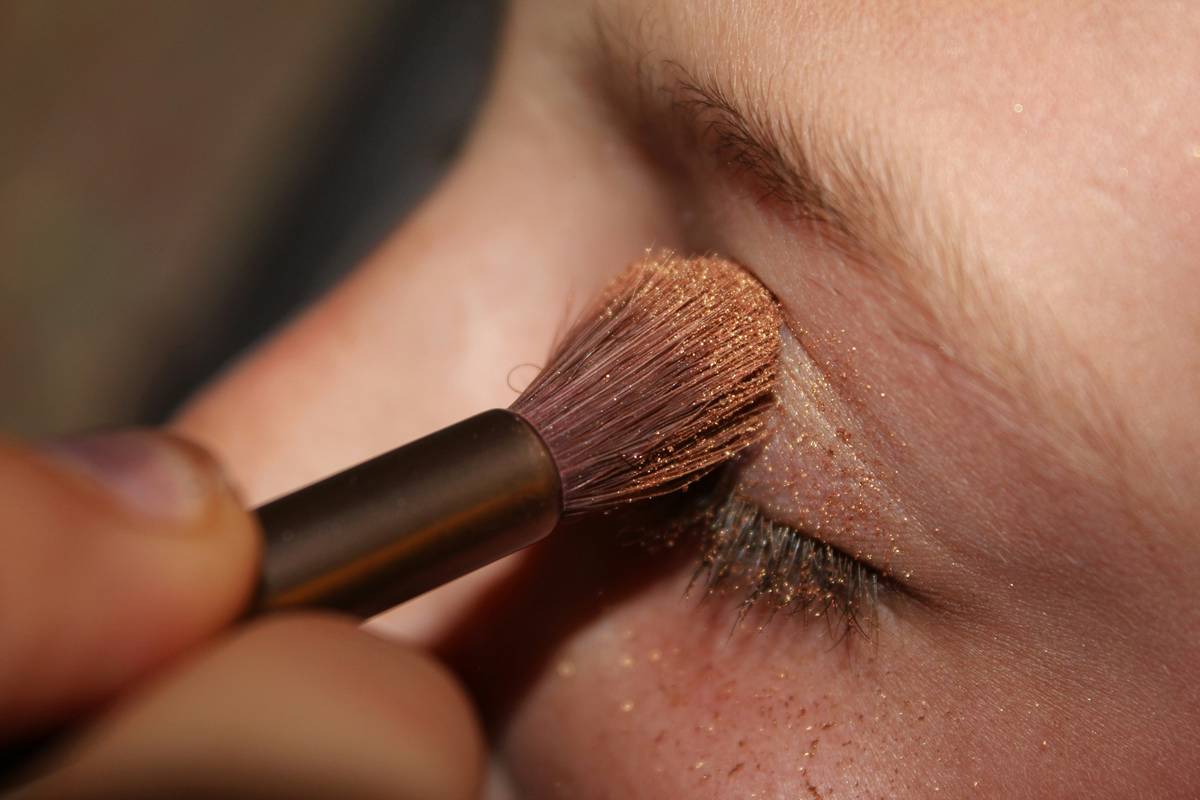
Press (don’t swipe) the sponge tip onto the shadow pan, then gently tap color onto your lid. Dragging stretches the skin and shears pigment unevenly.
4. Blend Immediately
Work quickly while the pigment is still fresh. Use light, windshield-wiper motions with the brush end to diffuse harsh lines—this prevents patchiness.
5. Clean After Use
Rinse sponge tips under lukewarm water with gentle soap. Air-dry overnight before storing. Brushes should be cleaned weekly with alcohol-free cleanser.
Best Practices for Clean, Effective Application
- Replace sponges monthly: Porous materials harbor bacteria—even with cleaning. The FDA notes that beauty tools in moist environments become breeding grounds for microbes within weeks.
- Avoid “multi-use” claims: Some brands market one applicator for eyes, lips, and cheeks. Don’t fall for it. Cross-contamination risks include styes and cold sores.
- Test before buying: Press the sponge tip—it should bounce back instantly. If it stays indented, it’s too dense and will drag.
- Store upright: Keep your applicator in a clean cup or case to prevent dust and bacteria from settling on the tips.
And here’s a terrible tip to avoid: “Just wipe your applicator on a tissue between colors.” Nope. That spreads old pigment into new shades and doesn’t remove oils or bacteria. Always clean properly.
Real Results from Smart Tool Choices
In a 2022 consumer study by the Personal Care Products Council, participants who switched from worn foam-tipped applicators to soft, antimicrobial silicone or synthetic-bristle alternatives reported a 68% reduction in eye irritation and a 42% improvement in color vibrancy. One user noted her eyeshadow lasted “from morning meetings to midnight cocktails without fading”—all because she stopped using a frayed, six-month-old sponge stick.
At Pierce Magic, we prioritize skin-safe materials in our product development process, ensuring every applicator meets hypoallergenic standards. Your tools should enhance—not endanger—your routine.
Frequently Asked Questions
Can I reuse disposable eyeshadow applicators?
Technically yes, but only if cleaned thoroughly and used within 48 hours. However, most disposables aren’t designed for repeated washing—their foam degrades quickly, increasing irritation risk.
Are silicone eyeshadow applicators better than sponge?
Silicone tips offer superior hygiene (non-porous surface), precise application, and easy cleaning. They’re ideal for cream or liquid shadows but less effective for powder blending compared to fine bristles.
How often should I clean my eyeshadow applicator?
After every use for sponges; weekly for brush-style ends. If you’ve had an eye infection recently, replace the tool entirely.
Do expensive applicators perform better?
Not necessarily—but material quality matters more than price. Look for latex-free, phthalate-free, and dermatologist-tested labels regardless of cost.
What’s the best way to travel with an eyeshadow applicator?
Use a sealed silicone cap or dedicated case to protect tips from contamination. Never toss loose into a makeup bag—dust and bacteria accumulate fast.
Can I use a cotton swab instead?
Only in emergencies. Cotton fibers shed, absorb too much product, and lack the firmness needed for controlled blending. It’s a shortcut that compromises results.
Conclusion
Your eyeshadow applicator isn’t just a convenience—it’s a critical component of both aesthetic success and eye health. By choosing soft, cleanable tools and using them with intention, you’ll achieve richer color, smoother blends, and happier skin. Ready to upgrade your kit? We’d love to help you find the perfect match—reach out to our team anytime. And remember: great makeup starts not with pigment, but with patience—and the right tool in hand.
For peace of mind about how we handle your data, review our Privacy Policy.