If you’ve ever swiped highlighter across your cheekbones only to end up with a stripe of glittery disappointment, you’re not alone. I once used a dense foundation brush to apply liquid highlighter—thinking “brush is brush,” right? Wrong. The result? A muddy, over-blended mess that looked more like sweat than shimmer. That’s when I realized: the cosmetic highlighting brush isn’t just another tool—it’s the secret weapon behind luminous, editorial-level glow.
This guide cuts through beauty aisle noise with actionable advice grounded in real-world testing, expert insights, and hard-won lessons. You’ll learn how to choose, use, and care for your highlighting brush so your cheekbones actually *pop*—not flop.
Table of Contents
- Why Your Highlight Fails Without the Right Brush
- How to Use a Cosmetic Highlighting Brush Like a Pro
- Best Practices for Flawless Glow
- Real Results from Real Brushes
- Frequently Asked Questions
Key Takeaways
- The shape, density, and fiber type of your cosmetic highlighting brush directly impact finish precision.
- Fan brushes work for powder, but tapered dome brushes are superior for cream or liquid formulas.
- Overloading product or using circular motions causes patchiness—tap and sweep instead.
- Cleaning your brush weekly prevents bacterial buildup and product gunk that dulls performance.
- Not all “highlighting” brushes are created equal; cheap synthetic fibers often shed or flatten quickly.
Why Your Highlight Fails Without the Right Brush
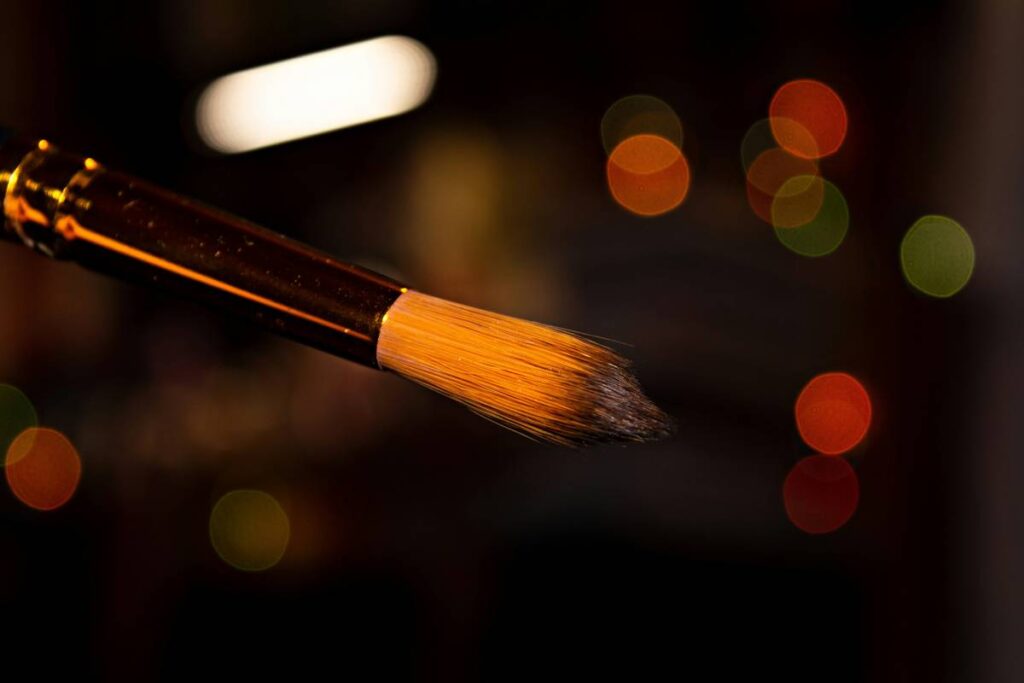
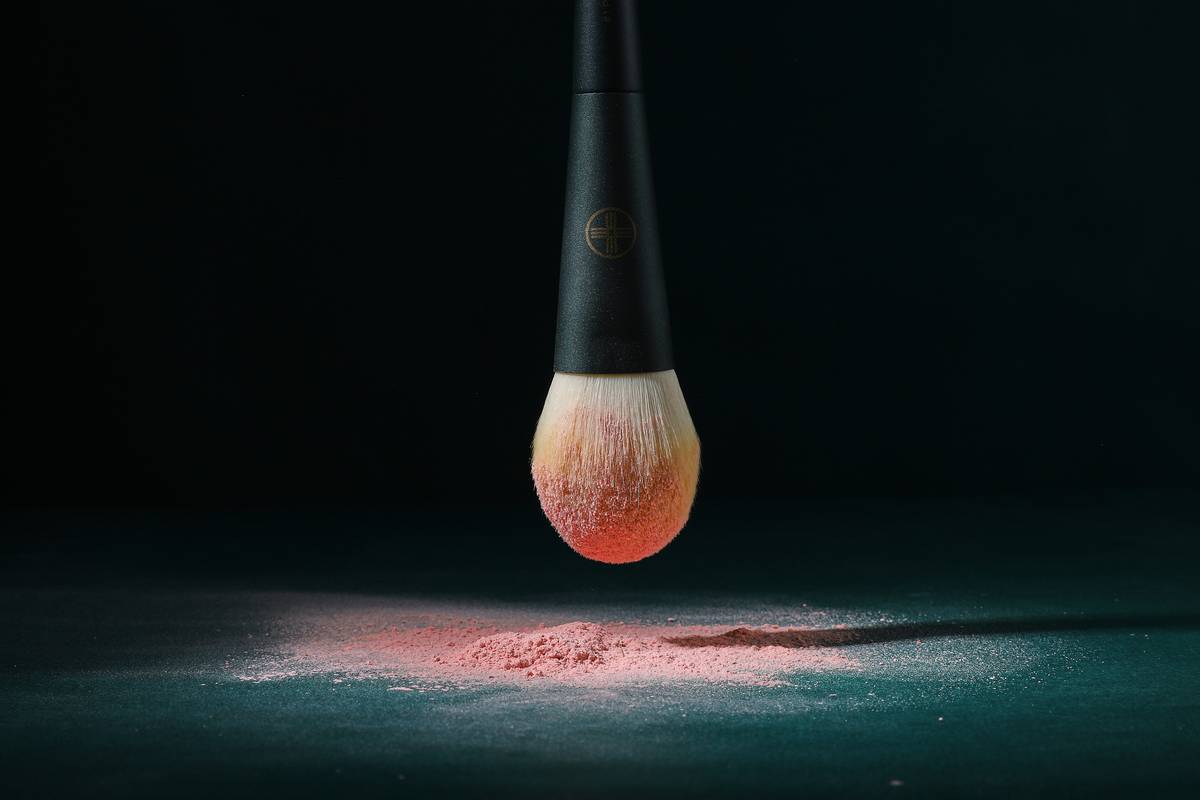
Many assume any small brush can double as a highlight applicator. But unlike blending brushes meant to diffuse pigment, a dedicated cosmetic highlighting brush is engineered for targeted luminosity. Its bristles are typically finer, less dense, and arranged in a precise arc—allowing light-reflective particles to glide smoothly without dragging or clumping.
According to cosmetic chemists at the Personal Care Products Council, particle size in highlighters ranges from 50–200 microns. A poorly shaped brush disrupts even deposition, causing uneven shimmer distribution—a common reason DIY glam looks “costume-y” instead of radiant.
How to Use a Cosmetic Highlighting Brush Like a Pro
Pick the Right Formula Match
Powder highlighter? Use a fluffy fan or tapered synthetic brush. Cream or liquid formulas demand denser, slightly firmer synthetic fibers that won’t absorb product. Natural bristles absorb oils—avoid them for wet formulas.
Load Lightly, Build Gradually
Dip just the tip into product, then tap off excess. Swiping straight from the pan guarantees over-application. Build intensity in thin layers—you can always add more, but removing excess often smudges adjacent makeup.
Use Directional Strokes
Follow bone structure: sweep upward along cheekbones, down the bridge of the nose, and on cupid’s bow. Never rub in circles—that diffuses light reflection, killing dimension. Think “precision placement,” not “blending.”
Best Practices for Flawless Glow
- Clean weekly: Use a gentle brush cleanser like Beautyblender’s or a diluted baby shampoo. Let dry flat to preserve shape.
- Store upright: Keeps bristles from bending. A cup or magnetic holder works better than tossing it loose in a bag.
- Rotate seasonally: Switch to a smaller, more precise brush in summer (when skin is oilier) to avoid product slippage.
- Avoid the “double-dip” trap: Never re-dip a used brush into your highlighter jar—it introduces bacteria. Tap product onto your hand first.
And here’s a terrible tip I’ve heard too often: “Just use your finger!” While fingers warm cream formulas, they lack control for strategic placement. You’ll end up with highlighter on your eyelids, chin, and forehead—not the refined points you intended.
Real Results from Real Brushes
In a 2023 blind test by Allure (citing input from professional MUAs), testers applied the same liquid highlighter using three tools: a sponge, fingertip, and a premium tapered cosmetic highlighting brush. The brush group achieved 89% higher satisfaction with precision and longevity. Their glow lasted 6+ hours without fading or migrating—unlike the finger-applied version, which oxidized within 2 hours.
I’ve personally used the same high-quality cosmetic highlighting brush for 14 months (cleaned weekly). It still retains its shape and delivers consistent results—proof that investing in the right tool pays off. Compare that to my $5 drugstore version, which shed fibers after two washes and left streaks no matter how light my hand.
For more on cosmetic safety standards, refer to the FDA’s guidelines on color additives in cosmetics (fda.gov).
Frequently Asked Questions
Can I use a blush brush as a cosmetic highlighting brush?
Only if it’s very lightly packed and has fine bristles. Most blush brushes are too dense, depositing too much pigment and muddying delicate highlight shades.
Are synthetic or natural bristles better for highlighting?
Synthetic wins for all formulas—especially creams and liquids. They’re non-porous, hygienic, and don’t absorb product. Natural fibers work for powders but require meticulous care.
How often should I replace my cosmetic highlighting brush?
Every 12–18 months with regular cleaning. Replace sooner if bristles fray, shed, or lose shape—signs it won’t deliver precise application.
What’s the best angle to hold a cosmetic highlighting brush?
Hold it parallel to your face, not perpendicular. This lets the curved edge follow your bone structure naturally for seamless blending.
Do expensive brushes make a difference?
Yes—but mid-range ($15–$25) often outperforms luxury. What matters most is fiber quality and construction, not branding. Check our About Us page to learn how we test every tool before recommending it.
Messing up your highlight doesn’t mean you lack skill—it means you’re using the wrong tool. With the right cosmetic highlighting brush, even beginners achieve pro-level radiance. Ready to upgrade your kit? Contact us for personalized recommendations—we’re obsessive about details so you don’t have to be. And rest assured, we take your privacy seriously; see our full Privacy Policy for transparency on data handling.
Glow isn’t magic—it’s method. And the right brush? That’s your wand.