You’ve blended foundation. You’ve set your powder. But that dark circle? Still peeking through. Frustrating, right? Most people blame their concealer formula—when the real culprit is how they’re applying it. Enter the beauty concealer applicator: a tiny tool with massive impact, yet routinely ignored or misused.
Why Your Concealer Never Looks Seamless (And It’s Not the Product)
Brushes smear. Fingers deposit oils. Sponges soak up half your product before it even touches skin. And yet—most tutorials keep pushing these outdated methods. Here’s the reality: uneven application creates texture mismatches, not coverage issues. A flat sponge edge might blend out a red spot fine—but try hiding deep undereye hollows with it. You’ll wind up tugging delicate skin and depositing too much product in one zone. Result? Creasing by noon. The math is simple: poor tool + good concealer = wasted money.
How to Use a Beauty Concealer Applicator Like a Pro
Forget “dab and blend.” Precision starts with the right motion—and the right tool geometry.
Selecting Your Ideal Applicator Type
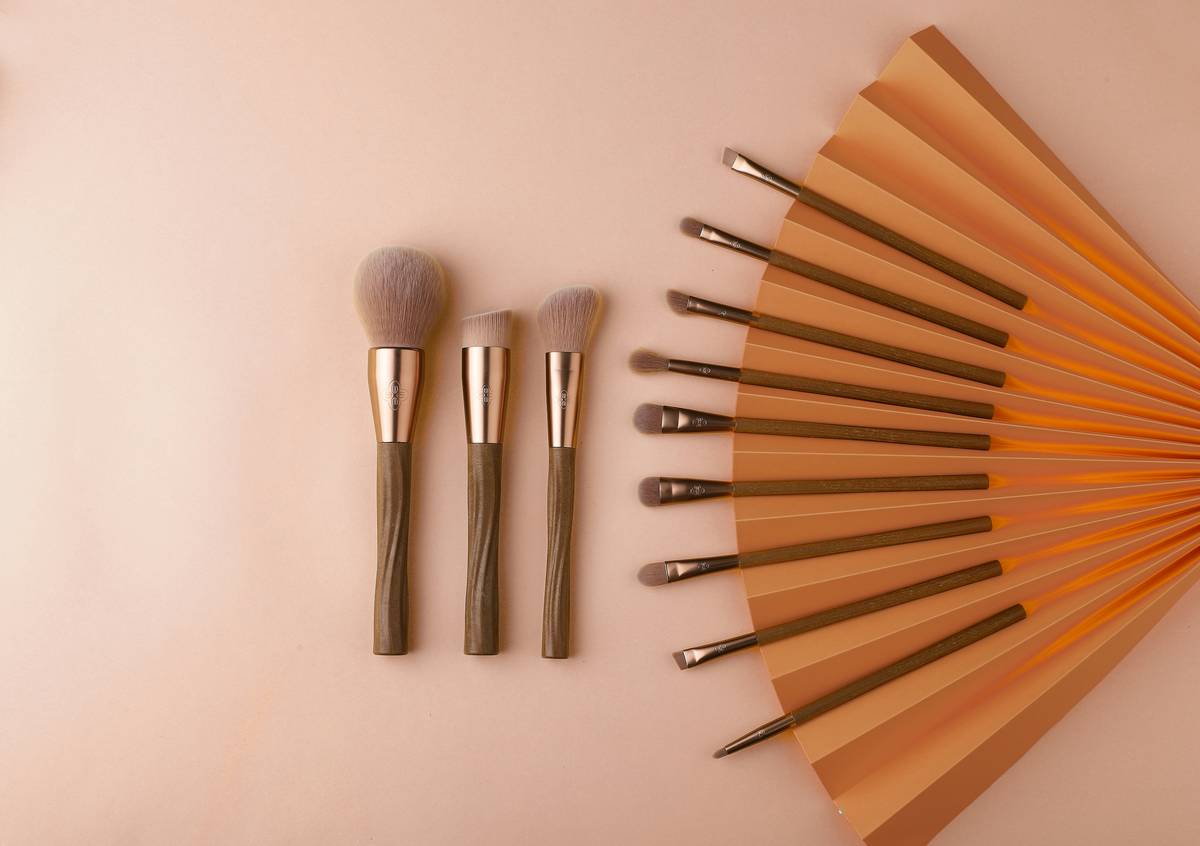
Silicone tips mimic finger warmth without oil transfer. Angled doe feet offer surgical placement. Flat paddle-shaped heads? Perfect for broad zones like forehead blemishes. Match the shape to your target area—not your brush collection.
Application Technique That Actually Prevents Creasing
Apply in thin layers. Yes—even if you think you need more. Press, don’t swipe. Let body heat melt the product into skin for 10 seconds before setting. This seals coverage without disturbing underlying hydration. Think about it: dragging = tension = fine lines amplified.
Cleaning & Maintenance Protocol
Wipe silicone tips with micellar water after every use. For bristle-based applicators, cleanse weekly with gentle shampoo. Neglect this, and bacteria builds up—triggering breakouts exactly where you’re trying to hide them. And no, “it’s just for concealer” isn’t an excuse.

| Applicator Type | Best For | Longevity Between Cleans | Average Cost |
|---|---|---|---|
| Silicone-tipped wand | Undereye, precise spot coverage | 5–7 uses | $8–$18 |
| Angled synthetic bristle | Contouring, acne spots | 2–3 uses | $12–$25 |
| Flat paddle head | Broad discoloration, redness | 3–4 uses | $10–$20 |
The Industry Secret: Makeup Artists Don’t Blend Concealer—They Melt It
Here’s what backstage pros won’t tell you: blending destroys coverage density. Instead, they press the product in using firm fingertip pressure—or better yet, a dense silicone applicator—then let skin temperature do the work. No circular motions. No bouncing sponges. Just targeted compression. Why? Because concealer isn’t meant to “disappear”—it’s meant to adhere. The smoother it sits on skin, the less likely it is to settle into fine lines. Bonus hack: chill your beauty concealer applicator in the fridge for 5 minutes pre-use. Depuffs while delivering pigment. Two birds, one chilled tool.
Frequently Asked Questions
Can I use a beauty concealer applicator with cream and liquid formulas?
Absolutely. Silicone and dense synthetic tips work with both. Avoid porous sponges—they dilute creamy textures and cause patchiness.
How often should I replace my beauty concealer applicator?
Every 3–6 months for hygienic performance. If bristles fray or silicone loses its bounce, toss it immediately—no exceptions.
Does a beauty concealer applicator reduce product waste?
Yes. Unlike fingers or sponges, precision tips deliver only what you need. You’ll use up to 30% less concealer per application.